Kristen, who writes the blog Small Treasures and created- from scratch- a fabulous trumeau mirror for her daughter's room in a feat of carpentry that has left us in awe! This is truly a from-scratch project that has us really inspired- you could completely customize this in terms of size, color, and ornamentation.
Of her project, Kristen says...
It was a spontaneous idea that came about when I learned how to wield a compound mitre saw while installing baseboards in my house months before. I'd always wanted a trumeau to hang between my daughters' twin beds, but couldn't afford one. A little taste of woodworking (with our baseboards) inspired a whole bunch of furniture projects. The trumeau was my first, and began with a simple sheet of plywood and some crown moulding. I hope you like it!

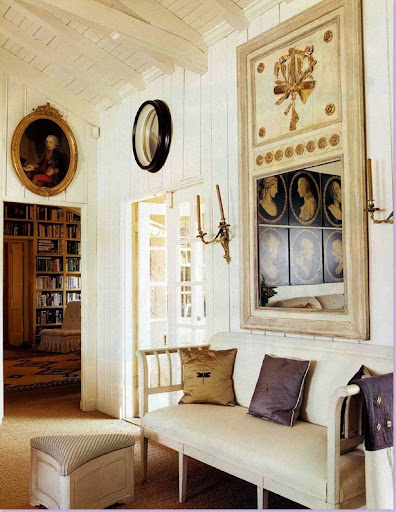
A trumeau mirror is a timeless classic that brings a relaxed elegance to most any type of room.
Cote de Texas

Here's a step by step of Kristen's fabulous mirror project.
First, she bought the sheet of plywood from a lumber yard and had it cut to the size she wanted for the space.
plywood+and+mouldings+cut.JPG)
Kristen says,
The ornamental onlays can be found in Catalog 124 from Decorators Supply Corp., an excellent business based in Chicago. The catalog contains more than 14,000 ornaments which they make from antique reproduction molds stored in their 100 year old vaults. You'll actually see the same designs on many antique pieces. As such the molds are VERY detailed. They can be applied with glue or using a steam method which allows you to drape the onlays over uneven surfaces, around bends, etc. They are also very reasonably priced.
crown+installed+and+ornamental+onlays+arrive+in+the+mail.JPG)
Once all the onlays/mouldings were applied, Kristen had the mirror glass cut to size and applied it with mirror mastic (from Home Depot) and cut and applied the frame around the glass with wood glue. Truth be told we've never heard of mastic, but turns out it's basically a putty-like paste used in building as a joint sealer or filler. And mirror mastic, you guessed it, is specially made for mirrors. Learn something new every day!
all+mouldings+applied-waiting+on+mirror.jpg)
Finally, she used heirloom white spray paint and lightly glazed it with a raw umber for an aged finish. She may glaze it more later to give it more depth- but it looks great to us! Here it is in her daughter's room- such soft, feminine look.

Congratulations, Kristen- you'll be getting your very own copy of I Married Adventure courtesy of MoS.
We are overwhelmed by the fantastic projects that all of our readers submitted; it's so much fun to see how creative all our readers are and know that there are other DIY enthusiasts out there who love the thrill of making/transforming one of a kind objects. It was extremely hard to pick our favorites and even harder to pick one winner! Thank you to everyone who entered, and to all of our readers, please feel free to email us your DIY projects anytime so we can see what you are up to!


0 comments:
Post a comment on: And the Winner of the DIY Challenge is...